Showing posts with label Vintage. Show all posts

Monday, 8 December 2014

Victorian Christmas card for my Dad

Didn't quite turn out as I'd expected, but my Dad likes it and that's what counts :) ...
I made the window using Marianne Design Snowy Window die, but I didn't use it as a die just as a template as I wanted to make a bay window that was complete but just needed to be folded. The wood grain effect was coloured by me using Derwents coloursoft pencils and ultrafine felt tip pen.
The branches and pine bough in the rooftop embellishment and inside the card are Craft Dies by Sue Wilson. The scroll and sentiments are computer generated.
Take care & keep smiling :)

Saturday, 25 October 2014

Moomin Birthday card - for Phoebe

My son's girlfriend Phoebe is a bit of a Moomin fan, so I had to make a Moomin card. I always try to make a box for the cards I make but on this occasion I altered a Cadbury's chocolate biscuit tin and lined it, so now she can use it as a sewing box, trinket box etc. or she can just keep the card in it :) ...

 The Moomin or should I say Snork maiden I sourced from the internet, printed - traced - transferred and then went over with a waterproof ink pen and then coloured. Her arm was done separately and glued on after I  added the small tulips and handbag. The tulips both large and small are from Magnolia's Easter Collection, the small ones are taken from The Tilda with Tulips stamp. The handbag I made myself adding the Vivienne Westwood logo, as Phoebe has one of her handbags. The boutique window, topiary pots and canopy are all Magnolia stamps. The cobblestones is by Water colour cobblestones. 
The backing paper is from the Basic Grey Euphoria collection with Inkadinkado Gem stones flourishes clear stamps. Some of the "gems" were coloured in with felt tips pens and then gone over with a clear glaze gel pen.
The die cut is a Spellbinder die but I can't remember which one which I pierced.
Take care & keep smiling :)

Monday, 16 December 2013

Victorian / Vintage Christmas card

Saw these papers by Kaiser Crafts - Turtle Dove Collection  and fell in love with them ...

Take care and keep smiling :o)

Tuesday, 5 February 2013

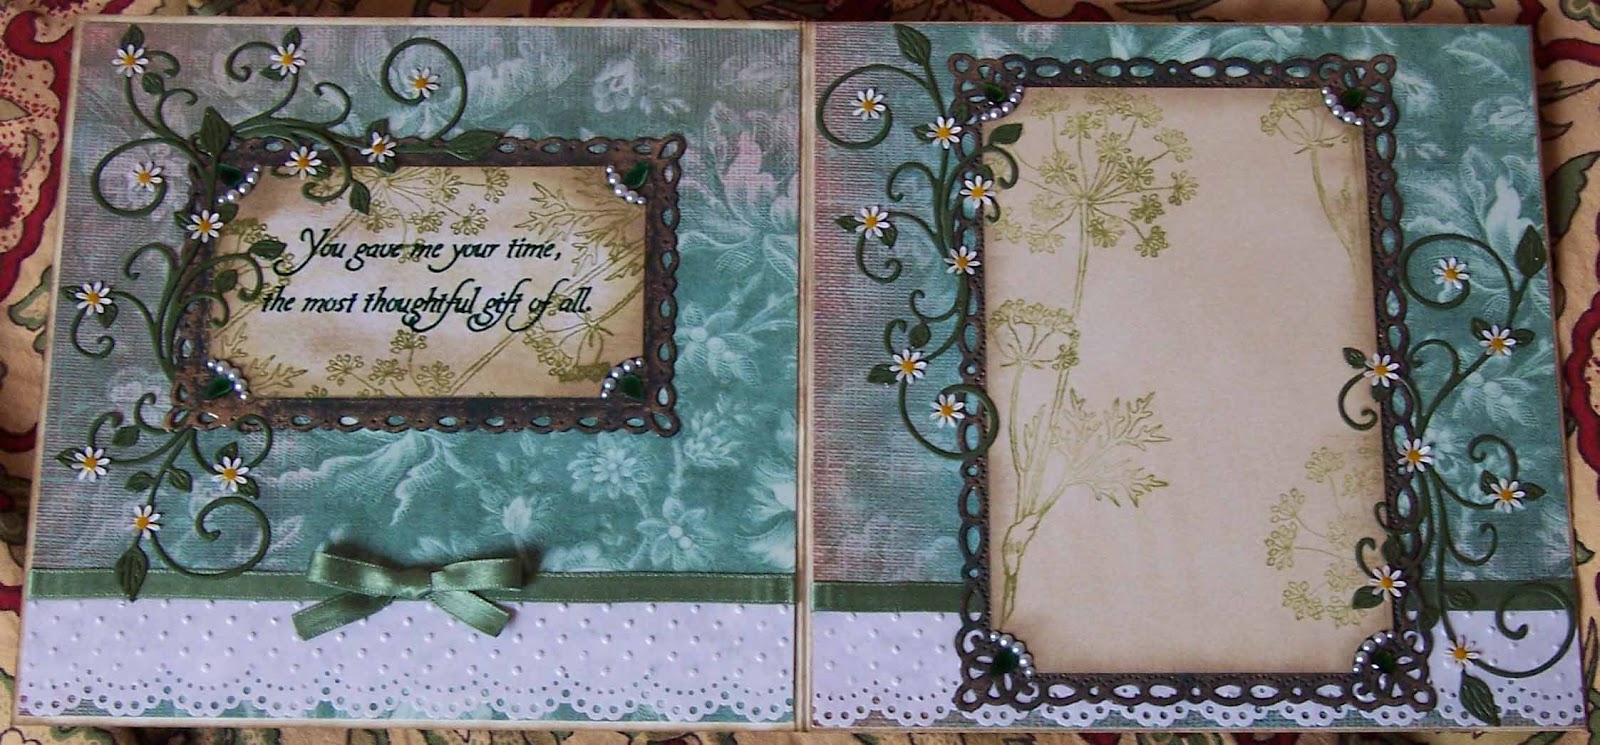
Friendship / Thank you Card

Hello, I was asked to make a friend / thank you card, and here is my effort...


The image on the front is a painting "Sweet Pea Blossoms" by Edward John Poynter. The frame was make with VERY thick grey card gone over with Verafine Olympic Green ink pad and Stayzon metallic copper.
Inside and back the frames are Spellbinders Romantic Rectangles, cut with green card and sponged with Stayzon metallic copper ink.The rubber stamp used on the sentiments and back of card is from Elusive Images "Wild Meadow", (but I think this company has now gone out of business) using Tim Holtz Peeled Paint ink pad. The flourish die is from Cheery Lyn Mini Fanciful Flourish. The flowers don't come with the die, they were made with a tiny punch. The "lace" at the bottom is made with Martha Stewarts Doily Lace punch, and the put the the Cuttlebug with the Swiss dots embossing folder. There, think I covered everything, just got to make a box for it now :o)
Take care and keep smiling

PS. The paper used is Daisy D's Antique Blue - Wild Flowers. Though it's not blue it's green !!!

Monday, 6 December 2010

Vintage Christmas Cards for 2010


Here is my Christmas card for 2010. I made several of these for my Dad to send out to family and friends.


Flowers - Flower Fantasy Die Set - Marianne Design Creatables. Stamen - Nellies Choice punch. Foliage - Pine branch - Marianne Design Creatables - Starry Garland Die Set. L Em - Ash Branch Punch. L Em - Evergreen punch.

Merry Christmas Stamp - Penny Black.

Take Care & Keep Smiling :o)

Tuesday, 21 September 2010

Tri Shutter Card - Dads Birthday


Here is my first attempt at a Tri Shutter Card. What a nightmare, cutting out all those panels and then trying to figure out where to put the embellishments so as the card would shut. But I did it and I'm very happy with the result.


The designer paper is by K & Company.
Flourish stamp - Tim Holtz
Butterfly - Marianne Design Creatables Butterflies 3. This was Cut from a lilac Bazzil card and then sponged with Tim Holtz Weathered Wood and Broken China Distress inks and then double heat embossed.
The flowers where made by me using EK Success Daisy punches. Again sponged with Tim Holtz Broken China Distress ink. The stamens I bought. The leaves are made using Nellie's Choice Jumbo leaf punch and embosser.
Metal frame and feather I found in my stash of goodies :o) The postage stamps are from Graphic 45 and the cameo is a Dress it Up button. I cut off the shank removed the cameo ant then sanded and painted the frame (which was black) with Smooch Azure ink. I left this for a couple of hours then wiped off the excess.
Very Best Wishes stamp is by Butterfly Kisses. Stamped with Toffee Versafine. Then the words were painted with Smooch Azure and Molasses. The Azure words were then gone over 3 or 4 times with Sakura Clear glaze gel pen.
Small butterflies are Martha Kay's' Medium Monarch Butterfly punch.
The poem is by Walter De la Mare and is called "The Sleeper", it's actually about Ann watching her mother sleep, but I changed it to father. You might be thinking what has that poem got to do with birthdays. Nothing, it's just that my Dad has a habit of falling asleep in the chair and it seemed appropriate, especially as the "watcher" is named Ann.
The dots around the box sides were made usin my Scor-Pal and Scor-Bug Embosser.
I'll show you how I made the flowers another time, but until then ...
thank you for looking and take care and keep smiling :o)

Sunday, 1 August 2010

Vintage Golden Wedding Anniversary card and a handmade rose !!!


I was asked to make a Golden Wedding Anniversary card, and in this day and age of "disposable" marriages to have a couple reach such a mile stone is cause for celebration indeed :o)


The backing paper/card was made by me using Hessian embossed card, Tim Holtz Distress inks - Antique Linen, Scattered Straw, Frayed Burlap, Spiced Marmalade and Tattered Rose. And then stamped with Inkadinkado Gem Flourish clear stamps using Versafine "Toffee" inkpad. Then sprayed with Glimmer mist Gold.
The roses I bought from a gorgeous new website Wild Orchid Crafts. They too were sprayed with the Glimmermist. The heart is made from 3mm Beech wood that I bought from Button-it when I went to a craft fair at the begining of the year. I haven't been able to fine these hearts on their website but I've no doubt if you emailed them they would be able to help. The heart was sponged with StazOn Metallic Gold and Copper ink and StazOn Timberbrown. The sentiment on the front is computer generated and embossed down the side with a Cuttlebug border embossing folder, and then inked with the same colour combination as the backing paper/card.
The heart in the insert was made using Nestabilities heart die and Cuttle bug embossing folder then hand stitched with gold thread. It was all then sponged with Brilliance inkpads Gold, Beige and Coral. The flourish was made with Sizzix Bigz die "Decorative accent with flower".
My "logo" on the back is hand stamped the other information (sentiments) is computer. generated.
Finally the box was decorated using Nestabilities square die and the embossed using a Cuttlebug Embossing folder and edged with gold peel offs.
I was going to make my own roses, but that would have taken to much time. But here's a picture of one I made a while back


This rose I made following a tutorial given in the Magnolia Ink Magazine edition No.3 2010. And it is VERY simple to make. The lady who gave the tutorial has a Blog but unfortunatley didn't put the tutuorial for this flower on there :o( When I've got time I'll post a tutorial for this rose, but of course ALL recognition will go to the lady who did it first. So until then ...
Take care & keep smiling :o)