Showing posts with label Fiskars Punch. Show all posts

Sunday, 3 March 2019

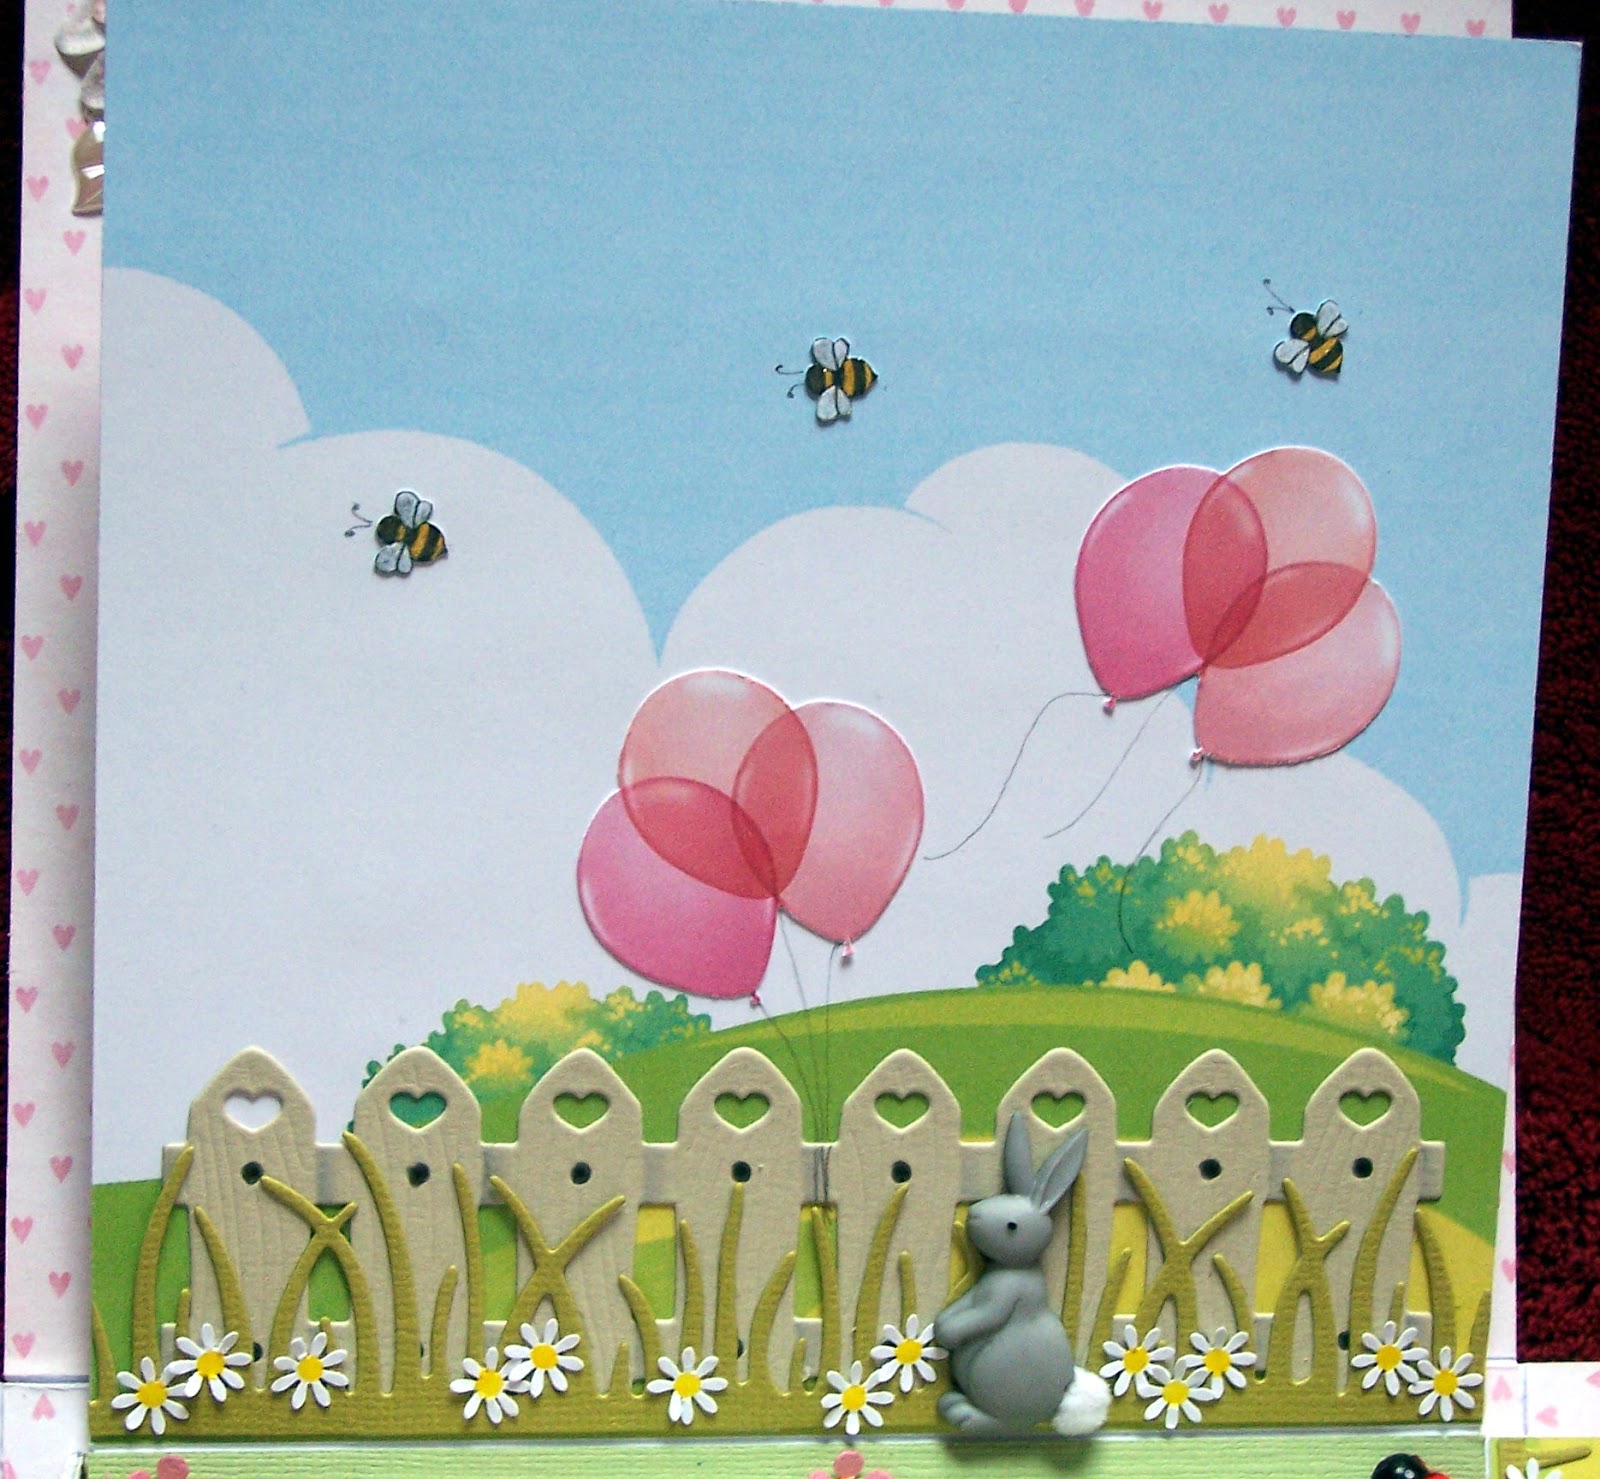
New Baby Girl Exploding Box

It's seems to be all babies lately, this time a baby girl is imminent for my daughter-in-laws sister and as I really enjoyed making the baby boy box I decided to do another...

Materials used -
Stamperia - Baby girl 12x12 paper pad 
Die-namics stitched scalloped dies -  rectangles, squares and circles
Die-namics stitched scalloped frame dies - circles and squares
Fiskars - Sunburst border punch
La La Land - heart fence die
Martha Stewart -  Grass border punch
Memory box -  Contempo bird dies
Poppy Stamp dies - Grand Madison door, small Madison window, small flowerbox (also upside down for door step)
Nellies Choice - stamen punch
Flatback pearl leaves from Wild Orchid crafts
XCut - butterfly palm punch
unknown make tiny flower punches
Buttons Gallore & More Buttons - Baby girl
Dress it up buttons -
Jumpin Around (rabbits)
New Arrival Girl
Stuffed with Love (Teddies)
Garden Gnomes
Out Foxed
Forest Babies (hedgehog)
Dog gone
Nine Lives
Gardening
nature backing paper, bees, ballons, letterbox, house number plaque and curtains - computer made
Brick wall - Magnolia rubber stamps
Baby, teddy, rabbit, door handle and door knocker - dolls house miniatures
Pram - own design. Please don't ask for template it was done purely using a spellbinders circle die for the body of the pram at the size I wanted then I winged it from there hahahaha
The bag however I did make a template for -

The overall printed size for the one I made is 7.5cm high and 8cm wide

Thank you for dropping by. Take care & keep smiling :)

Wednesday, 6 October 2010

Double Tri Shutter Card - 21st Birthday


Here is a Double Tri Shutter Card that I made for my Son's girlfriend Pheobe. This card was a lot easier to make than the Tri Shutter card in my last post, but then again this card is a lot less fussy than the last card.


Materials Used -
Stardream card
Bazzill card
Woodware Daisy punches
Brilliance inkpads - Victorian Violet, Mediterranean Blue, and Sky blue.
Crafts -Too Daisy embossing folder.
Nestabilities circles dies - Standard and Small sets
Fiskars border punch - Threading Water
Elusive Designs sentiment rubber stamps
Bling on a Budget gemstone swirls (I got mine from Craft Obsessions)
Rangers Glossy Accents glue.
First of all I cut all the panels for the card then ran them through my Cuttlebug with the embossing folder. Then using the Brilliance ink pads sponged the Daisies and edges.
The 21st center was cut out using a standard size nestablities circles die. I then cut out another standard circle then positioned the small die in the middle of this to get a frame. The number 21 was bought and the gemstone swirls were further embellished with some dark blue rhinestones from my stash.
The daisy flowers were made with Woodware daisy punches and the center of the flowers were coloured using a cotton bud and a Brilliance ink pad. The center of the flowers then had a generous blob of Rangers Glossy accents glue and left to dry for a couple of hours.
The happy birthday sentiment was gone over twice with a Sakura Gelly roll clear glaze pen.
The box center circle was hand cut and the frame was made the same way as the 21st centerpiece.
The acetate was embossed with the same embossing folder as the card.
The edge of the box border again has blobs of Glossy Accents in the holes.
The card is then held shut with some dark blue organza ribbon.
Not sure what my next card is going to be, maybe a double, double tri shutter card :oD Anyway until then ... Take care & keep smiling

Tuesday, 23 March 2010

Vintage Card - Get well - Part 1


Hello, I've gone all vintage AGAIN :o) I love it, and I think I'm slowly getting better at it. It's one of those styles that just about suits everyone, male or female, and as I wanted to make a card for my friend Tracey who's just had a back operation, I thought this style would be perfect. As you can see from the title of this post this is part 1 as there are LOTS of photo's as I not only made a card I also altered a tin to make a gift set. So here we go ....


In this picture the card is in the box I made for it. You might be thinking what are those black lines on the girls faces? Well I scanned the DP I used for the card and through my graphics programme I changed it to black and white, then into a negative and then printed it onto printable acetate, and then used it to make a "window" in the box lid. Below is a picture of the lid with some white paper behind it so as you can see the printed acetate better. You can click on the photo to get a better look if you want to.


1.The main image is from the internet, unfortunately I can't remember who the artist is.
2. The DP or backing paper is from Graphics 45 "Botanicals" range.
3. The flowers were made by me using EK Success medium flower punch and red vellum
4. The torn letter is a rubber stamp by EK Success - "Parchment Script". Stamped onto parchment, which was then screwed up, distressed and aged with Tim Holtz distress inks ( I don't know how I ever lived without these inks)
5. The Butterfly is a Martha Stewart punch.
6. The sentiment is computer generated aged as above and then double heat embossed.
7. And if you're wondering, the cherub is a button by Dress It Up.


1. The main DP/backing paper is from a CD by Bearly Mine Designs.
2. The pocket for the postcard was again made with the same printed acetate. The "lace" trim was made with Martha Stewart's Doiley Lace punch and Fiskars Leave it to Weaver punch, aged again with Mr Holtz's inks.
3. I loved the postcard I made for a previous card so I decided to do it again for this card. The Eiffel Tower image again was sourced from the internet.
4. The butterfly was made using Marianne design Creatables Butterfly 3 die.
5. The side of the note was made with a Cuttlebug embossing folder and then sponged with the same distress inks.


Lastly here's the back of the postcard. The sentiment is computer generated, the rest of the images are rubber stamps from Clear Art Stamps "French Mail".
Tomorrow I'll post part 2 - the altered tin I made to go with this card. So until then
Take care & keep smiling

Tuesday, 27 October 2009

Vintage 70th Birthday card - for my Dad :o)


It was actually my Dads birthday on the 29th September, and have only just remembered to take a photo of it !!!! Anyhoo I took lots of photos and I've uploaded them small to get them all on, cos as usual I couldn't make up my mind which ones I liked best :o/ So here goes...


I won't bore you with the details as to how I made the card, as there is waaaaaaay to much to list, but if there is anything you want to know about the card feel free to ask. All I will tell you is the photo's are of my Dad when he was VERY young :o)
Thank you for taking the time to look and take care & keep smiling