Showing posts with label Free templates. Show all posts

Wednesday, 28 January 2015

Tutorial for stitched corners

I was asked how I made the stitched corners for the steamer trunk gift box. To do a blow by blow account would be too long and too complicated (for me at least), so I've made a template that you can print out to what ever size you need, and I'll try and keep the instructions as simple as possible...

1. Print out the template to the size you require. (The picture above is 12cm x 12cm)
To find the size you need... If for example you are making a corner for a lid, measure from the corner to the bottom of the lid and then double it, eg if it measures 3cm then print out a circle for 6cm.
2. Cut out the template NOT the line that says cut, fold it into quarters. This is to find the centre of the circle and to make it easier to position on the corner of the box. Along the folded lines cut as shown above. To make sure you have the right size position the template over one of the corners, adjust if needed.
3. Place template on your chosen paper, card etc (I used Tim Holtz grunge paper for my corners) and draw around. Leaving the template in the same position use a needle or piercing tool for the stitch holes.
To do the stitching ...

1. With the card,paper etc facing right way up put the threaded needle UP (from the back) through hole 2 and then back DOWN through hole 1, then UP through hole 3 and back DOWN through hole 2, UP through hole 4, DOWN through hole 3. This will give you a continuous running stitch.
I hope this helps :)

Sunday, 3 August 2014

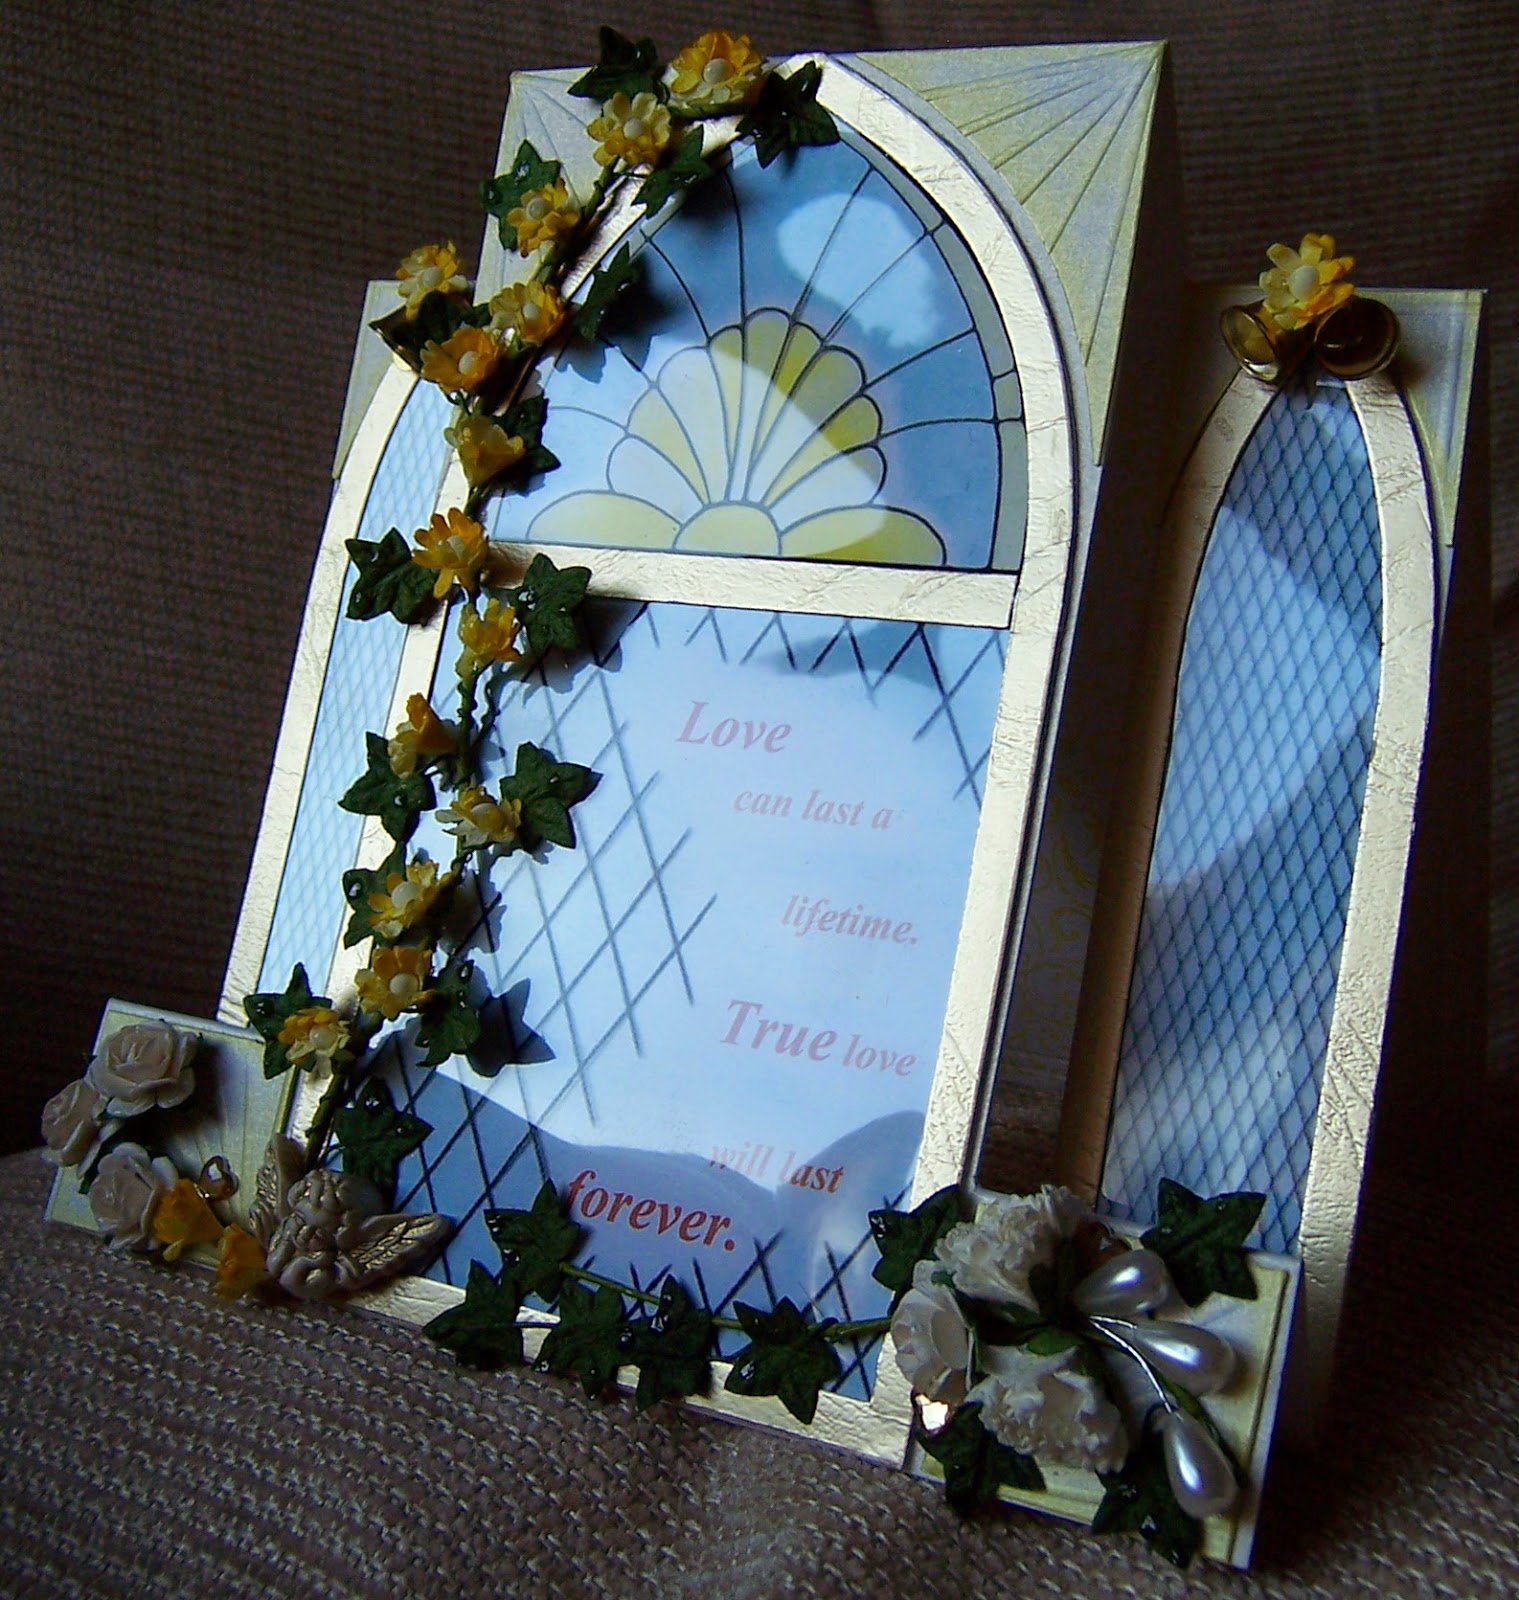
Wedding Card - Centre Side Step

Another Wedding card !!! Another commission, (that I'd said I wasn't doing any more !!!) Well it is now as I've got lots of my own projects I want to do, and I'm determined to do them :o) At the bottom I've added the templates I made to make this card ...


Arched windows - hand cut. The leaded and stained glass effect is computer generated and printed on to printable acetate, all mounted onto card that had been coloured with Derwents colour soft pencils.
The back envelope has the Heartfelt Creations "Timeless Amour" die cut. The envelope insert sentiment is computer generated and gone over with Atyou glitter pen and clear glaze pen and the top of the card embossed with a Cuttlebug border embossing folder.
The box panel was embossed with a lattice design (can't remember the manufacturer, and it's not a folder, just a plastic lattice sheet.) All other embossed lines were done with a ScorPal.
Here are the templates I made ( This is a 16cm square card and is in two parts. I haven't put the second part on as it's just a square. When you have done all the folds, glue or use double sided tape on to the top fold to attach the back panel) ...
 I'm not sure if these will print out the size that they are, but feel free to use them if you wish.
Take care and keep smiling,